A Beginner's Guide to Buying Second-Hand Furniture Safely
October 09, 2026 - DIY

October 09, 2026 - DIY

October 05, 2026 - Interiors

October 01, 2026 - Inspiration
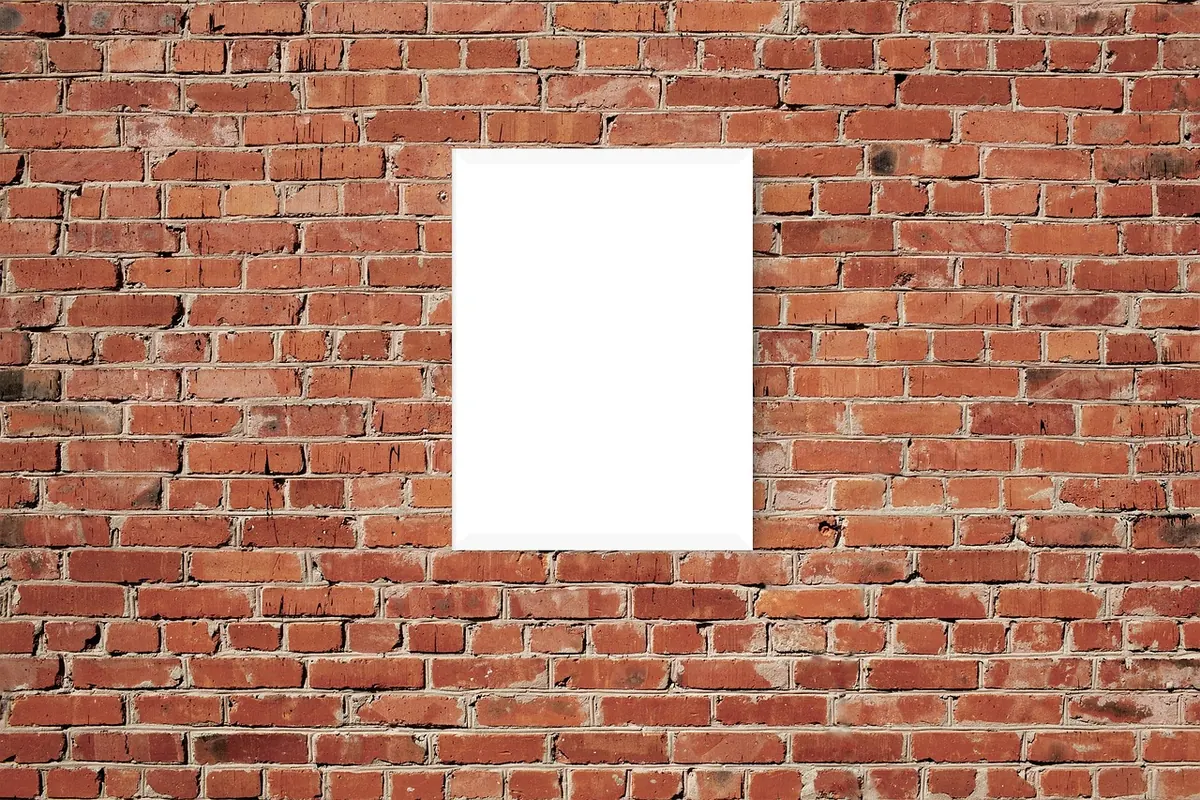
Victorian terraces are generous with ceiling height and short on forgiving walls. You get a picture rail at shoulder-blade height, a dado rail lower down, plaster that has clung to its laths since the 1890s, and a chimney breast pushing into every main room. Hanging a picture here shouldn't need a builder, but it does help to know what is behind the paint.
The good news is that these walls were built for hanging things on. The picture rail exists because Victorian households hung pictures from it and left the plaster alone. Work with the house rather than against it, and you will get a tidy result with far less fuss than a modern stud wall demands.
Most rooms in a Victorian terrace have one: a narrow moulded timber strip running right around the walls, usually somewhere around 2.2 to 2.3 metres up. It was fitted for exactly this job. If yours is original and firmly fixed, it is already a hanging system.
Before you trust it, grip the rail and pull gently. A sound rail barely moves; it is screwed into the same studs and brickwork as the wall behind. If it flexes away from the plaster, the fixings have failed and it needs re-securing before it takes any weight.
The kit is inexpensive and worth buying properly:
Two hooks with cords forming a wide V beat one hook on a long single cord every time. The load is spread, the frame hangs level, and it will not swing every time someone walks past. Keep the cords short — 40 to 60cm is plenty for most frames. Where ceilings are very high, a picture rod or a length of chain lets you drop a frame lower without a long, unstable cord.
An old wall is not a sheet of plasterboard. Narrow strips of split wood — the laths — were nailed horizontally with small gaps between them, and wet plaster was pressed on so it squeezed through and set behind, forming a key. The result is a thick crust sitting on a soft, gap-toothed backing.
Three things follow from that. Plaster crumbles if you attack it with a wide bit. Hollow-wall fixings, the spring toggle sort, rely on a clean hole and a genuine void, and you have neither. And a screw that grips only the plaster will pull out the moment the frame is heavier than a postcard.
So work in this order of preference:
Two habits will save you a repair job. Drill rather than hammer, because hammering shakes the plaster keys loose from behind. And leave masonry plugs in the toolbox — they shatter old plaster and hold almost nothing.
The chimney breast is usually solid brick, which makes it the strongest surface in the room. It is also the natural focal point, so use it. One substantial piece centred over the mantel will do more than a scattered arrangement.
There is one trap. The flue runs up inside that breast, and drilling into it can open a soot-filled void that holds nothing and smells. If your drill passes through brick and then meets empty air, or black dust appears, stop and move along the wall.
Measure from the fireplace rather than from the room. In many terraces the chimney breast sits off-centre, pushed aside by the staircase, and art centred on the room will look wrong from every angle.
The alcoves either side are shallower and side-lit, which suits smaller works, a group of three, or a stack of narrow frames. Hang lower than instinct suggests. Alcoves are usually viewed from a sofa across the room, not from the doorway, and a gap of 5 to 8cm between furniture and the bottom of the frame keeps things relaxed.
A dado rail, sitting at roughly 900mm to a metre, gives you a ready-made datum line. The simplest approach is to hang a row of small pictures just above it with their bottom edges aligned to the rail. Below the dado, in a hallway especially, is a kicking zone and generally best left bare.
On a staircase, following the rake of the stairs with pictures hung above the dado looks deliberate and calm. Keep the gaps even and the bottom edges parallel to the handrail, not to the floor.
For a coherent look across the house, pick a centre height for your artwork — somewhere between 1.45 and 1.55 metres works in most rooms — and hold to it wherever the architecture allows. Where a rail or a dado forces your hand, align to that instead. Consistency of line matters more than one magic number.
The difference between a neat job and a wall full of regrets is almost always preparation.
Finally, listen to the wall. If a section sounds hollow and bows when you press it, the plaster has come away from the laths and no fixing will hold. That is a job for a plasterer, and it is worth doing before you hang anything you care about.
Photo: RaniRamli / Pixabay
A practical guide to buying second-hand furniture: how to measure, inspect and question before you commit, plus...
North-facing rooms needn't feel cold or dingy. Here's how warm colour, layered lighting, mirrors and texture can...
October 09, 2026 - DIY
October 05, 2026 - Interiors
Copyright © 2026 Amber Nest. All Right Reserved.